

How to actually start using a projector for sewing (a no-stress beginner's guide)
Everything you need to know to get from "I'm intimidated" to cutting out your first pattern!

Before I did it myself, using a projector for sewing felt like a crazy technological advancement that I’d never be able to wrap my head around. I was used to printing out patterns and being able to move, adjust and shift the paper as needed. The tactile nature of paper patterns was something I didn’t think I’d ever be able to give up.
But then I worked with a pattern with over 100 pages. Sticking together all of those A4 pieces of paper and then having to cut it all out almost broke my will to live. Sure, I could have sent it to a copy shop to be printed in A0. But I’m a spontaneous gal, and when I want to start sewing, I want to start sewing now. So, with that in mind, I started thinking there must be a better way!
At that point, I’d been served up so many videos of people using projectors for sewing that it didn’t look as intimidating as I had first thought.
Now I’m here to reassure you that (like learning to sew) using a projector is not that hard! But I also don’t want to oversell it to you, so I’m going to be honest about all the annoying bits too!

So, is a projector worth it for sewing? What do you need, and how do you get everything set up? Here’s exactly how to get started with using a projector for sewing…
Step 1: Get a projector (you don’t need a fancy one)
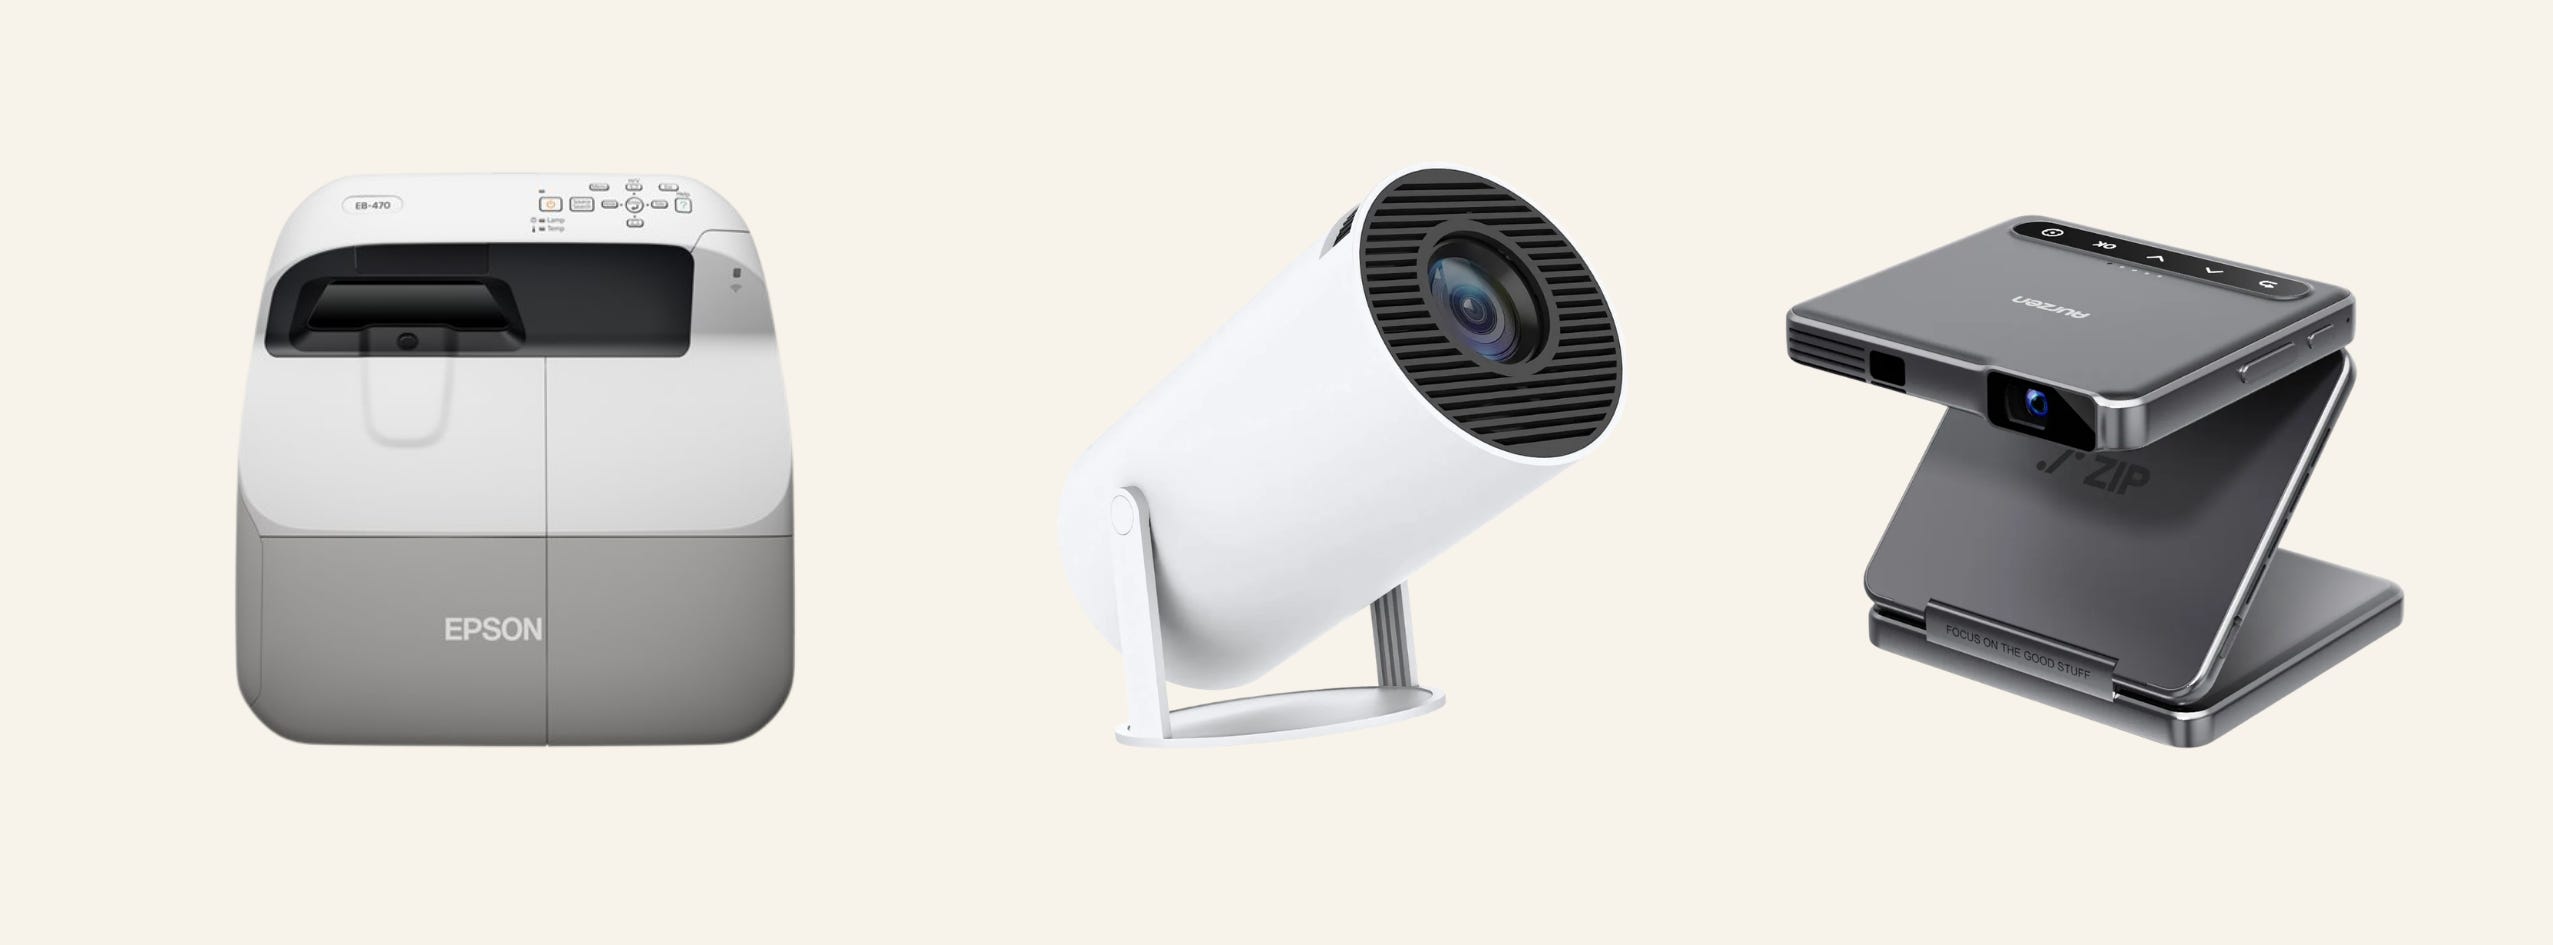
I bought an Epson Ultra Short Throw EB-475W projector secondhand on Trade Me (New Zealand’s answer to eBay). I’d recommend looking for one secondhand before buying new. There are loads out there, schools and offices upgrade theirs constantly, and you don’t need the latest model for this to work.
After about two years I did have to buy a new lamp, but even with that cost, buying my projector secondhand was still way cheaper than buying new! It was also easy to buy a replacement lamp. I just searched for the model of my projector and “lamp”, and there was another person on Trade Me selling exactly what I needed!
For sewing, what you’re looking for is an ultra-short throw (UST) projector.
The “throw ratio” (you’ll see this in the listing) tells you how close the projector needs to sit to create a big image.
UST projectors can sit right next to your cutting surface rather than needing to be mounted up on the ceiling, which makes them the easiest option if you’re working with a table rather than a dedicated room.
A couple of things to know before you buy:
They’re heavier than you’d expect. Most sit around 12 pounds / 6 kg, so factor that into wherever you’re planning to perch it.
Bulbs wear out. They’re rated for a few thousand hours, but it’s worth checking how many hours are already on a secondhand one before you buy, and budgeting roughly $50–150 for a replacement bulb down the line.
If you want a more in-depth breakdown of brands, models and what to look for in a secondhand listing, this guide on the best UST projectors for sewing covers it far better than I can!
I've also seen a few people using the Aurzen ZIP projector*, a lightweight and far more portable alternative to the big UST projectors. When I saw Ruti's video (@thalias_threads) I was blown away, so I asked if she'd share some thoughts. This isn't sponsored (though I have used an affiliate link), and I haven't tried it myself, but here's what she had to say:
As someone who has had a projector for years and avoided using it because the setup was so finicky and time consuming, the Aurzen zip really changed my attitude towards projector sewing. It’s 3” wide and weighs 280g so you're able to connect it to any smooth surface with a suction cup mount. The technology is far more advanced than the Epson short throw I had before. Instead of hours of trial and error to set up it detects the projection area and projects a perfect rectangle no matter what angle. It also auto focuses so all you have to do is calibrate using the grid on patternprojector.com and you're ready to project a pattern within 5 minutes. It does come at a higher price tag, but if you sew in a small space, or rent and can't easily mount a large projector onto the walls this projector is amazing.
*affiliate link
Step 2: Get your pattern into a projector-friendly file
Some indie pattern companies now sell a “projector file” or “layers” file alongside the standard PDF, which is the easiest version to work with since it’s already been set up to scale correctly on a projector. But, there are also lots of patterns (especially older ones or smaller indie brands) that don’t offer this yet.
If your pattern doesn’t come with a projector file, you’ll need to convert your A0 (or tiled A4) file yourself. This is the part of the process that I thought would be most fiddly, but because of some amazing sewists online, it’s actually quite easy!
The tool most people in the projector sewing community use for this is PDF Stitcher, and there’s a handy step-by-step tutorial linked here. It took me a couple of goes to get comfortable with the export setting, so don’t panic if your first attempt doesn’t look right.
Step 3: Set up your space
This is the bit I didn’t think about enough before I bought it, but a projector setup needs a dedicated spot. You can absolutely break it down and pack it away each time, but be aware that means re-calibrating every single time you use it (more on that below), which eats into the time savings that make projector sewing worth it in the first place. If you’ve got a table or a corner you can leave more or less untouched, life will be much easier.
Before you go any further, check that your cutting surface is actually level using a spirit level or a leveling app on your phone. This sounds like a small thing to skip, but an unlevel surface is one of the most common reasons people get stuck and can’t get a clean calibration.
Step 4: Mount or position the projector
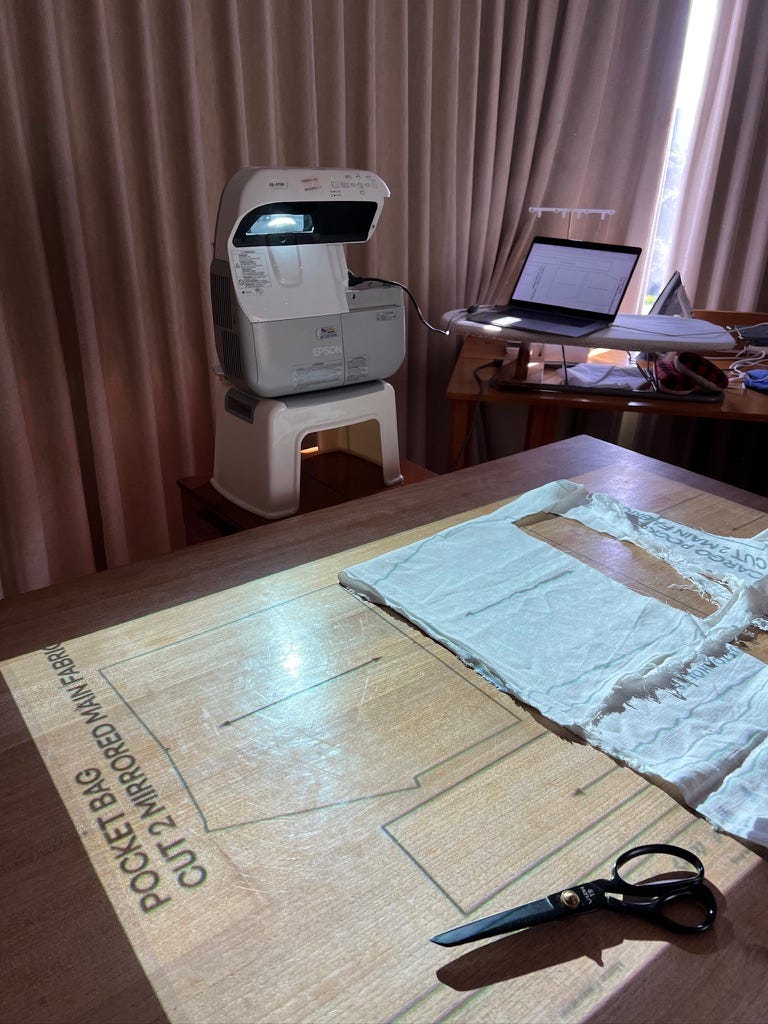
With a UST projector, you don’t need to drill anything into your ceiling. Most people either:
place it on a stand, cart or shelf beside the cutting table, or
mount it using a clamp or bracket made for this exact use case
You’ll need some height difference between the projector and your cutting surface, even though UST projectors sit close. A stack of books, a small tripod, or an adjustable desk all work. There’s a bit of trial and error in getting your projector to sit right, but that’s normal. Nobody gets the exact right height on the first attempt!
For more on mounting options specifically, this resource on mounting a projector for sewing walks through several setups with photos, which is much more useful than me trying to describe it using only words.
Step 5: Calibrate your projector
Calibration is the process of telling your projector software exactly how your projected image maps onto your real-world cutting surface. This is so that when it projects your pattern onto your cutting surface, the lines are the length and size they should be.
Most people use free software built specifically for calibration. This calibration walkthrough is the one most beginners are pointed to, and I’d start there rather than trying to figure it out from scratch.
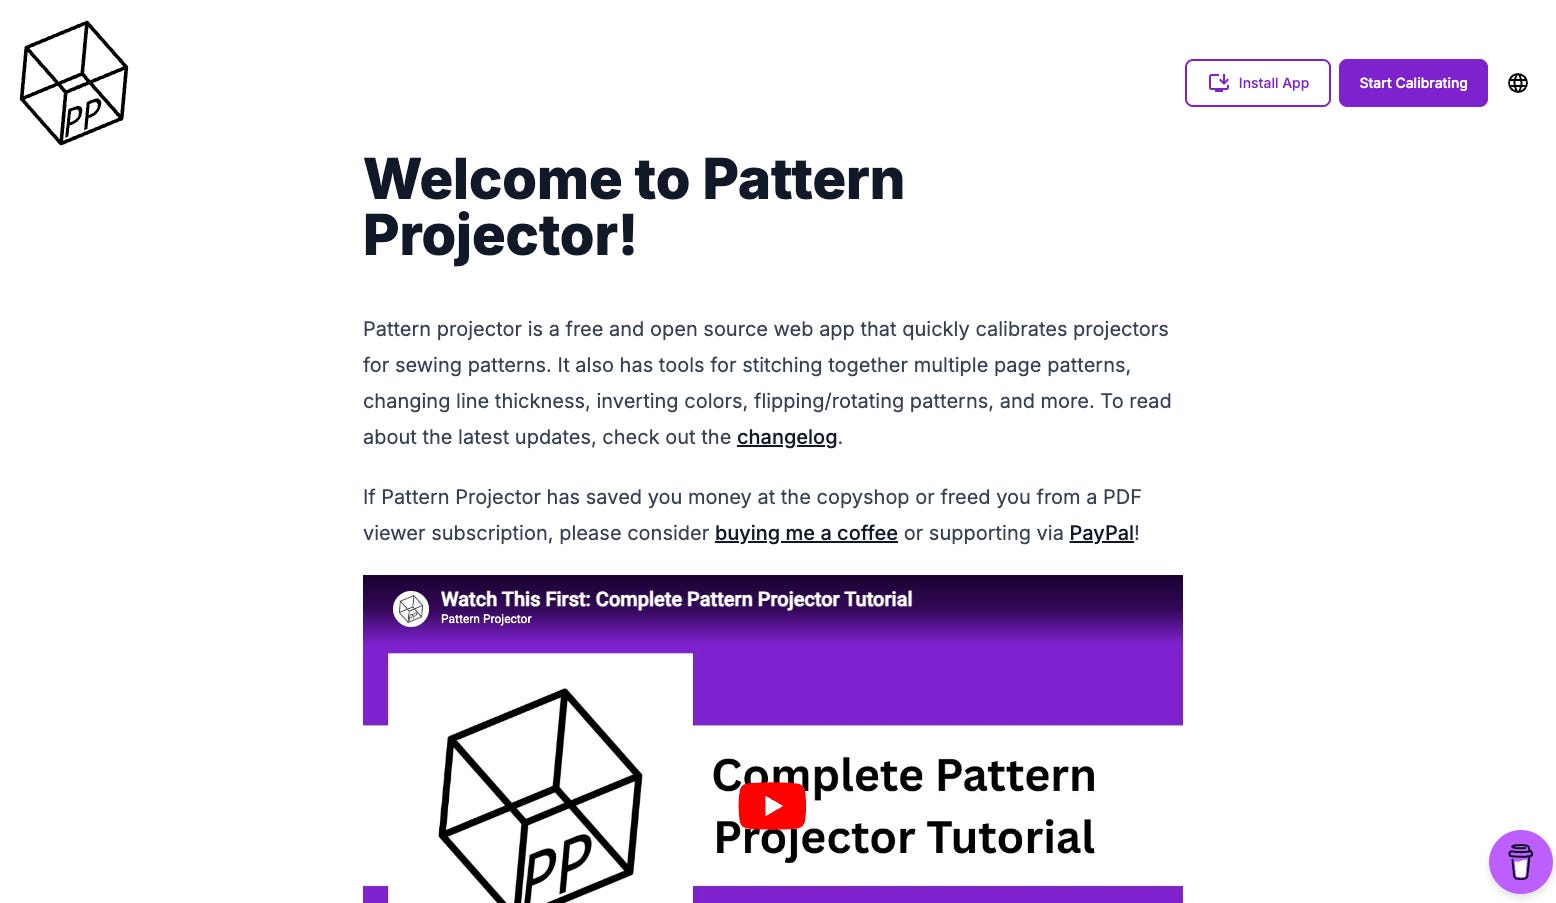
Not going to lie, this is the most frustrating step! The first time I calibrated my projector, it took me almost an entire afternoon. If it’s taking you forever too, the silver lining is that you should only have to go through this process once. Caveat! This is assuming you’re not moving your setup between projects, because if you move it, you’ll have to check and potentially recalibrate again.
Step 6: Cut your first pattern
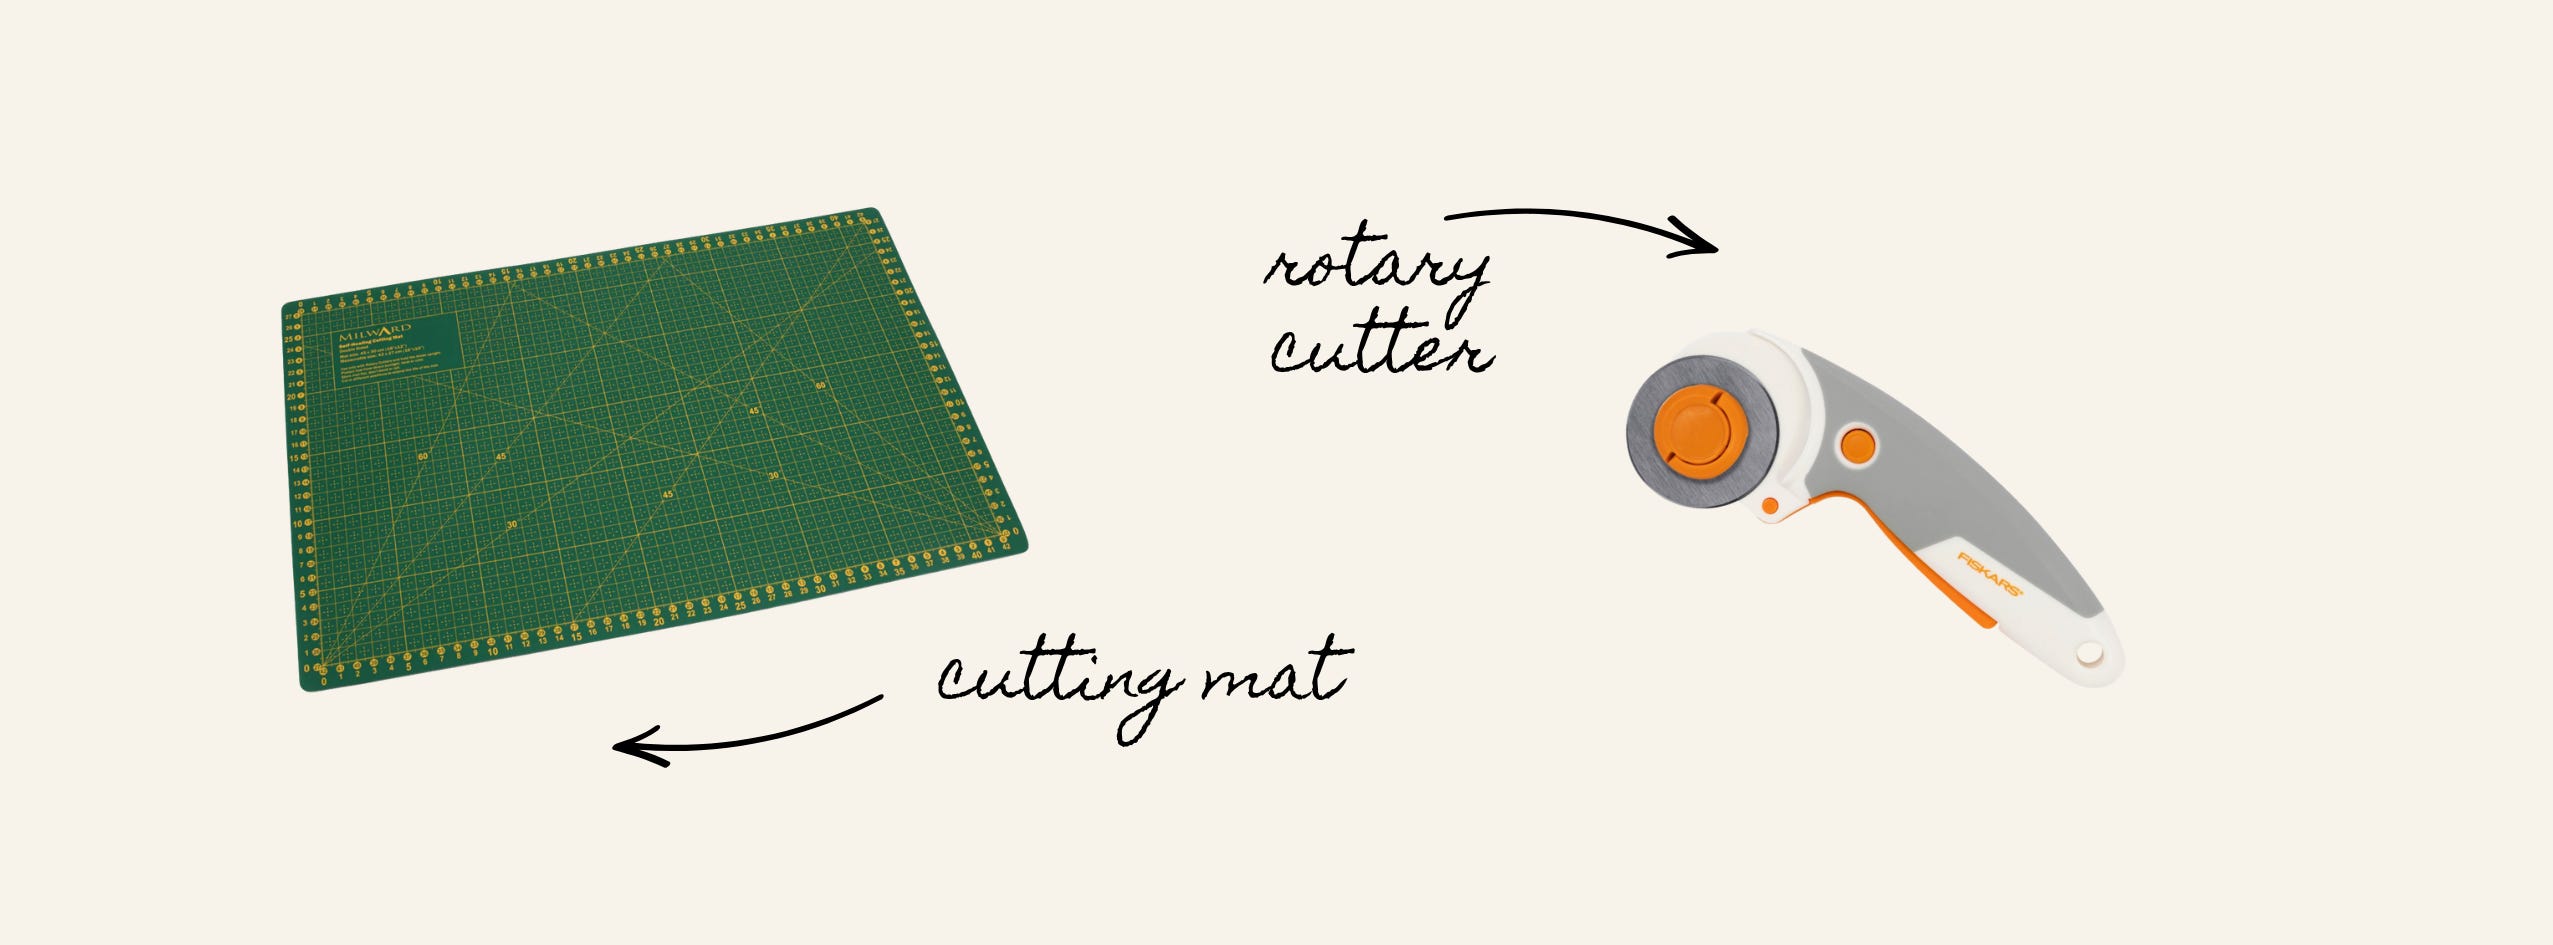
Once you’re calibrated, the actual cutting is super simple! Just lay your fabric down, project your pattern onto it, and cut directly around the lines. I usually trace the lines with chalk before cutting if I’m going to use scissors, but most people use a cutting mat and rotary cutter to avoid that step.
One important limitation to know about before you start: you generally can’t cut on the fold with a projector. This is because folded or doubled-up fabric can distort the projected lines just enough to throw off your cutting accuracy. If your pattern is designed to be cut on the fold, you’ll need to either use a tool to “unfold” the pattern piece digitally first or manually mark and flip the piece yourself. While this can sometimes be an annoying extra step, it’s not the end of the world, and you can fix it quite quickly. But it is worth checking your pattern files before you’re halfway through a project!
Is buying a projector actually worth it?
For me? Yes, completely! I will never go back to taping together a 100-page PDF.
But it might not be right for you. If you only sew a couple of patterns a year, or you don’t have anywhere to leave a semi-permanent setup, the upfront cost and calibration faff might outweigh the benefits. You might also prefer to make adjustments or hacks to paper patterns and can’t be bothered to learn how to do it digitally.
You don’t get any awards for owning a projector. Printing and taping is a perfectly valid way to sew, forever, if that’s what suits your space and your patience levels!
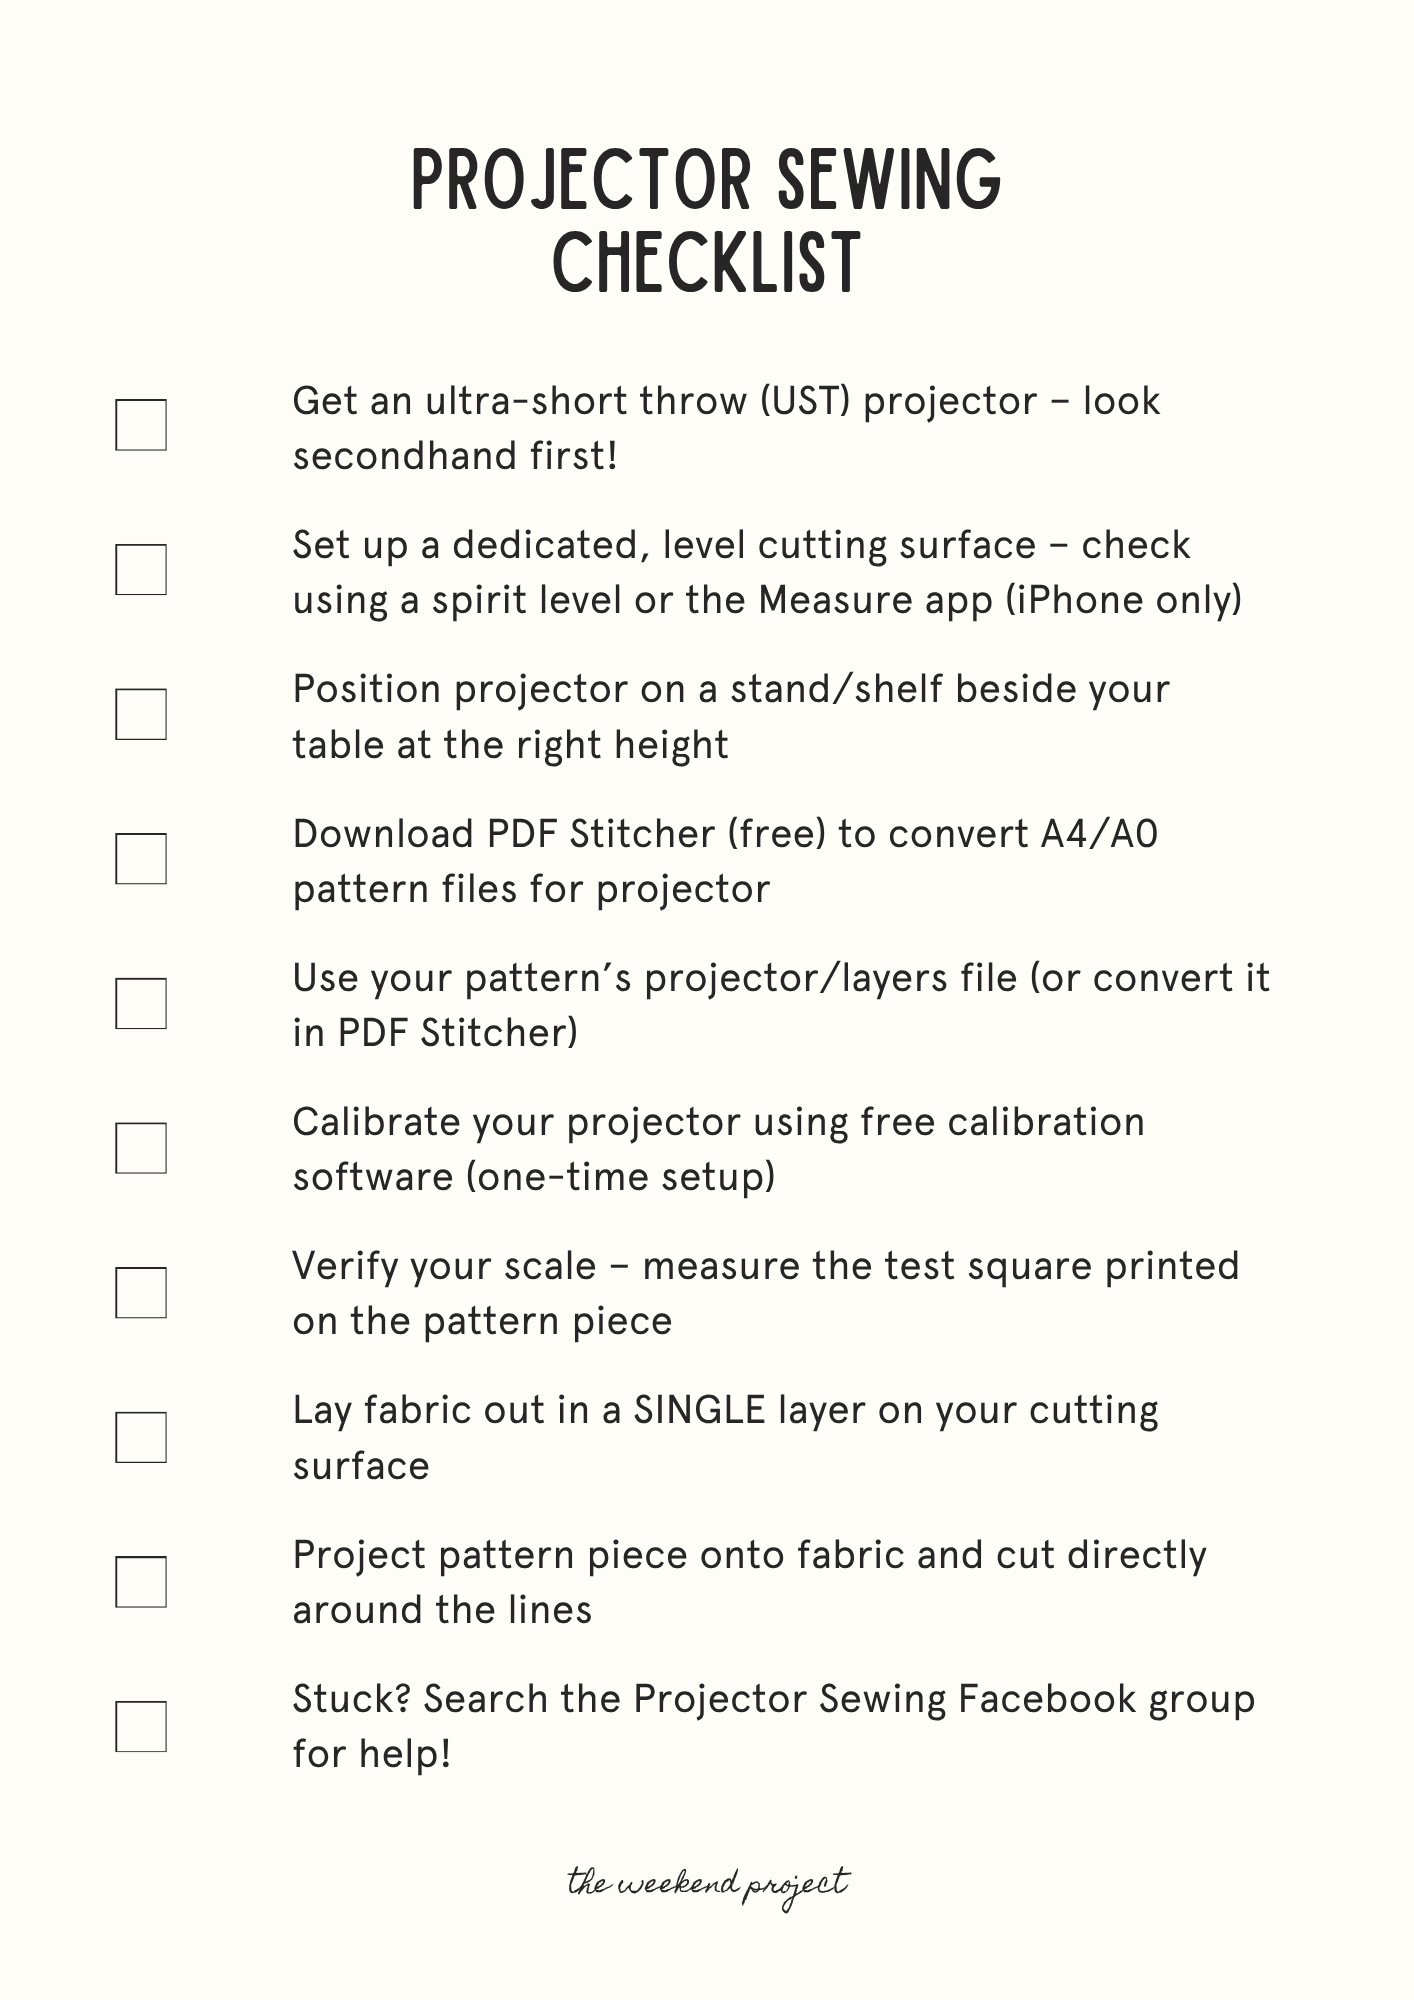

If you do decide to take the leap, you’re not figuring this out alone. The Projectors for Sewing Facebook group is full of people troubleshooting the exact issue you’re stuck on. And if no one has posted about your problem before, you can make your own post and get advice from other sewists who are very friendly and willing to help!
And if you do get stuck at any point, drop it in the comments below. I promise the four-hour first calibration is not the forever experience. It gets so much easier from here!


Thank you so much for reading The Weekend Project! If you enjoyed it or found it helpful, I’d really appreciate a like, share, or comment — it truly means a lot <3
Want more?
Find my sewing vlogs, tutorials and more on YouTube (coming soon!)
Weekend Project Patterns (sign up for exclusive updates before it launches late 2026)
If you’re a brand interested in collaborating on a future post, please get in touch via email sarah@thweekendproject.com



I understand how a projector could save time and paper but I haven’t seen anything on how to make fitting changes. I have many quite complex adjustments that I have to make on nearly every project! I’d much rather use a pencil, rulers and a rotary cutter than try to do something like this digitally. Thoughts?
I have shared this article with friends! I love mine--mounted to the wall and move my table, but I love the portable option featured as well!